 F/8 ISO 400 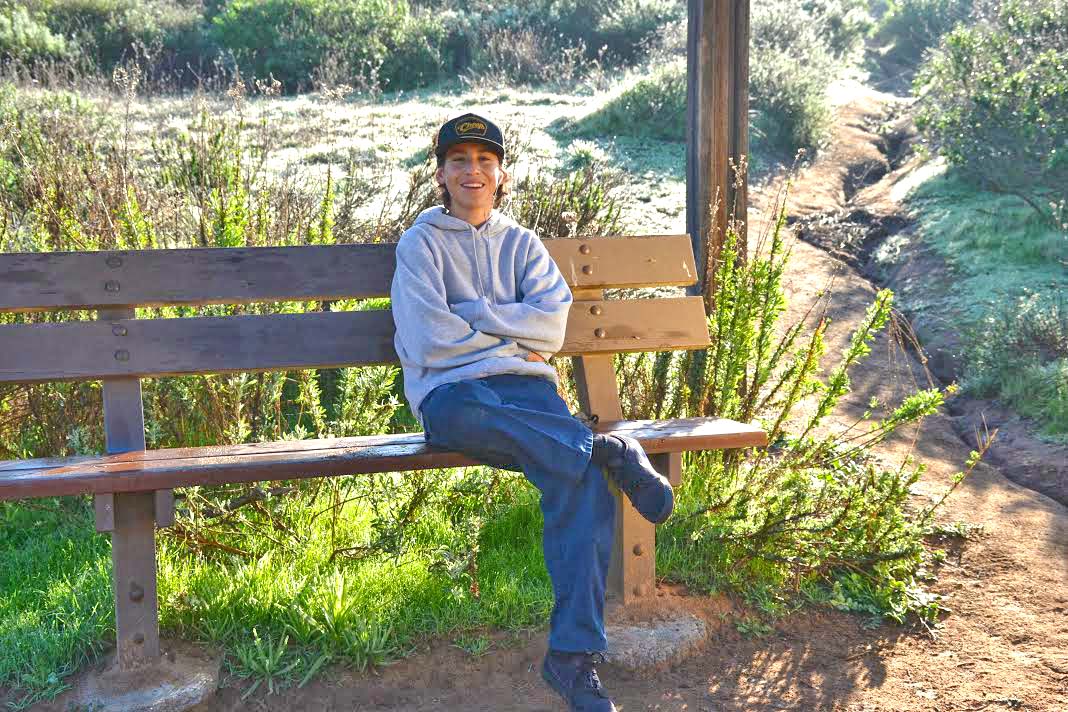 F/8 ISO 400 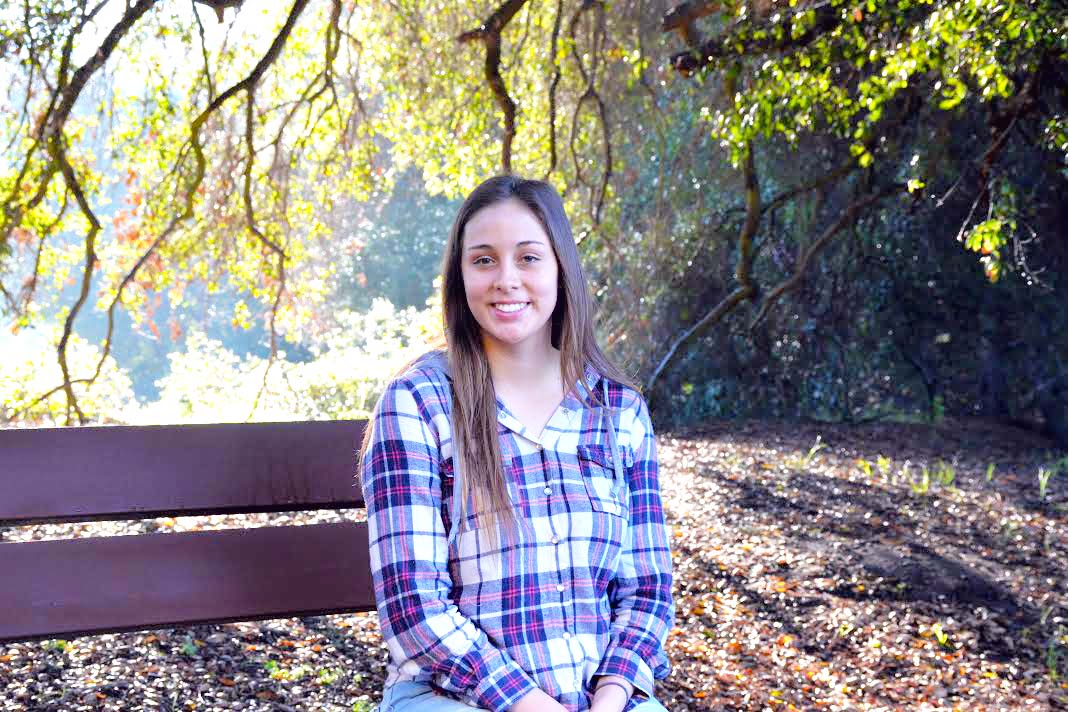 F/8 ISO 400 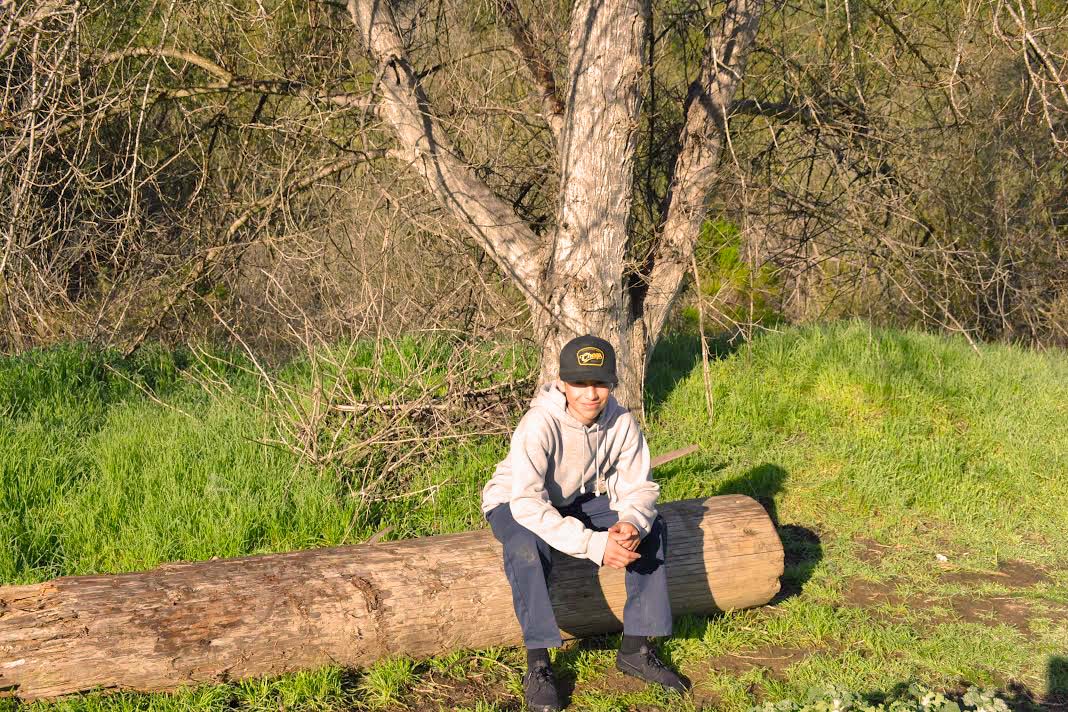 F/8 ISO 400 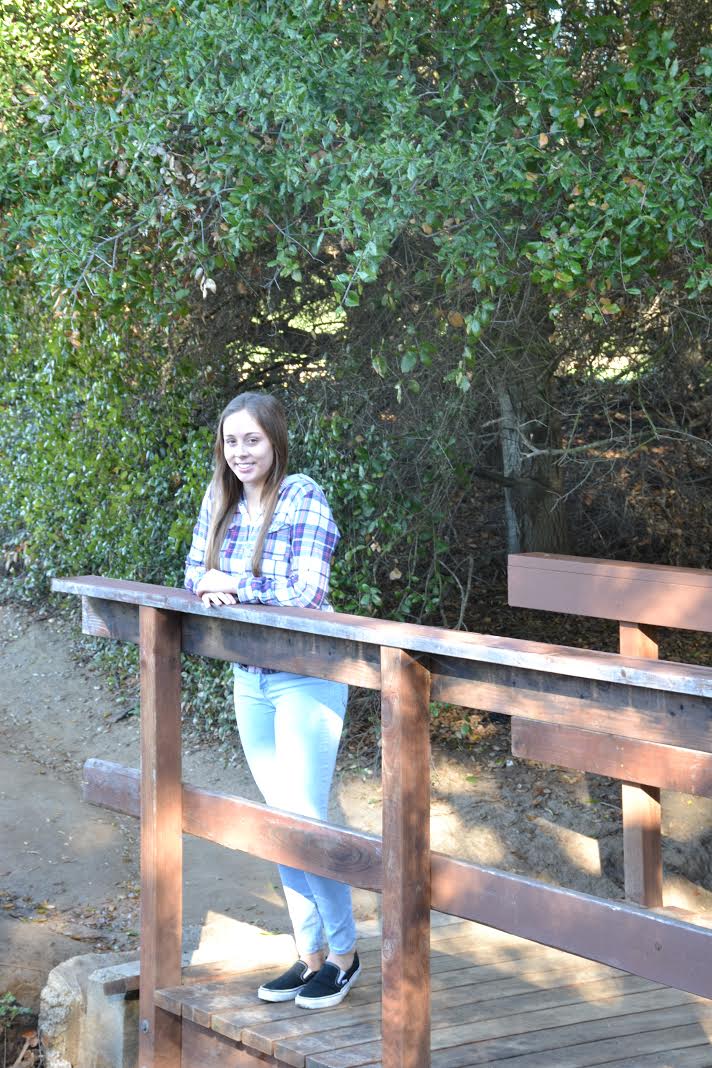 F/8 ISO 400 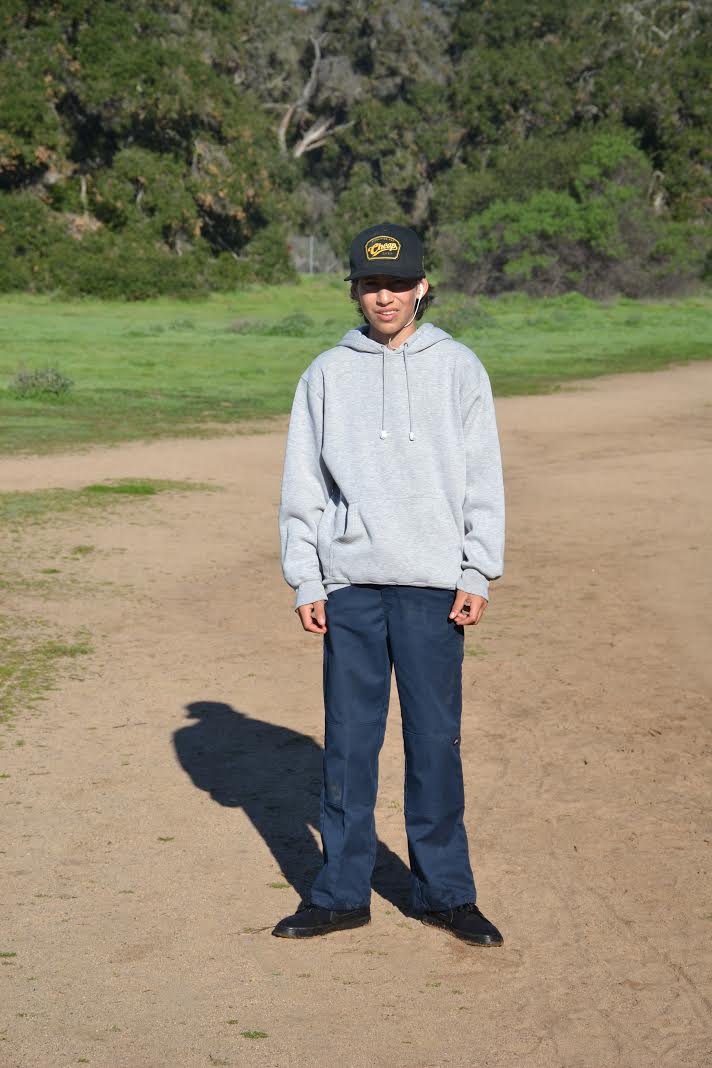 F/8 ISO 400 Questions
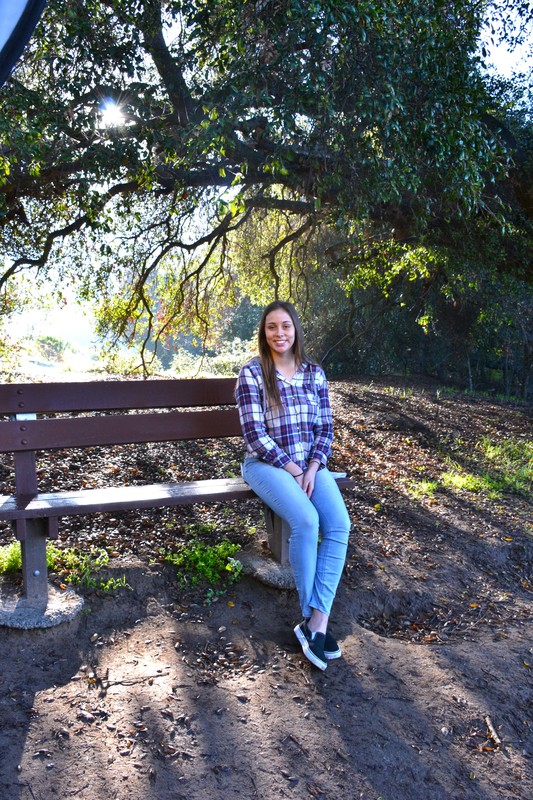
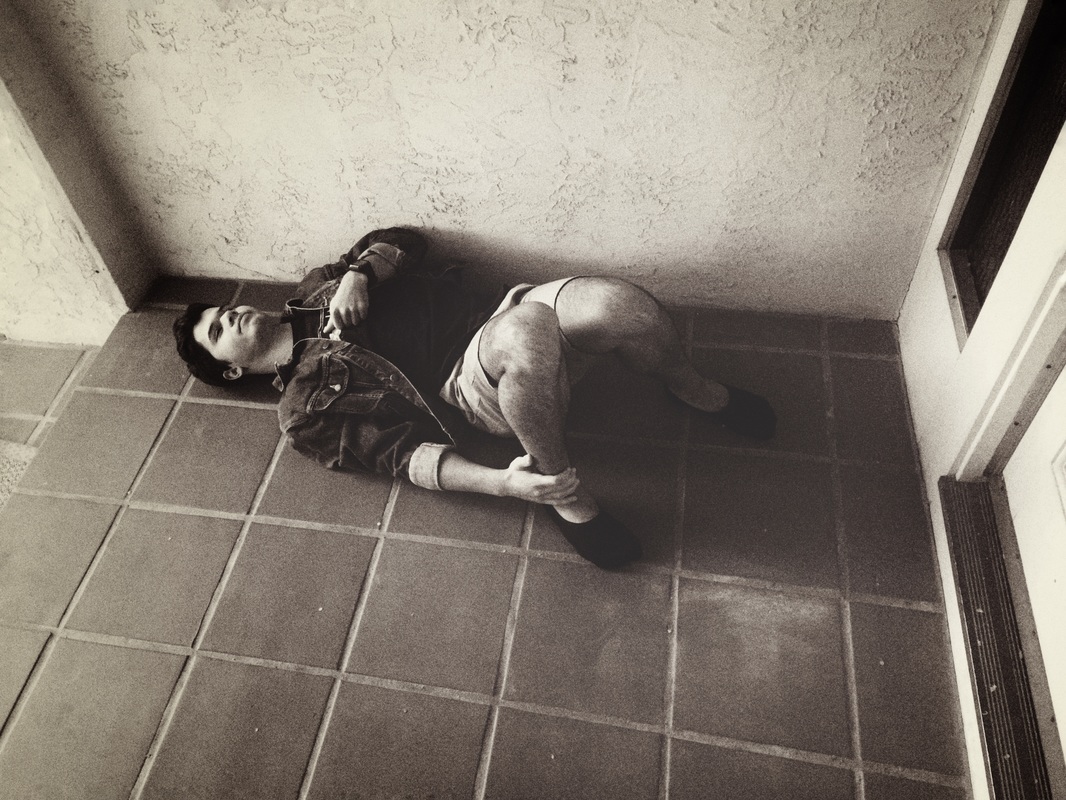
1. What I learned from this was how natural light can either be perfect, or it can ruin your picture. 2. Poses weren't a problem for this task, the poses were fairly easy to figure out. 3. The reflector, at times, was a big help, and gave us a natural glow. 4. I did a lot of retouching with the lighting, it was a little harsh in some photos. 5. For professional photography, poses range from sitting down, to standing, and to also using props to make your pictures more lively or valuable. Anyone can hire a photographer, either for a wedding or a children's party. For portrait sessions, they range from 50 to 100 dollars, depending on how many you want or the company.
0 Comments
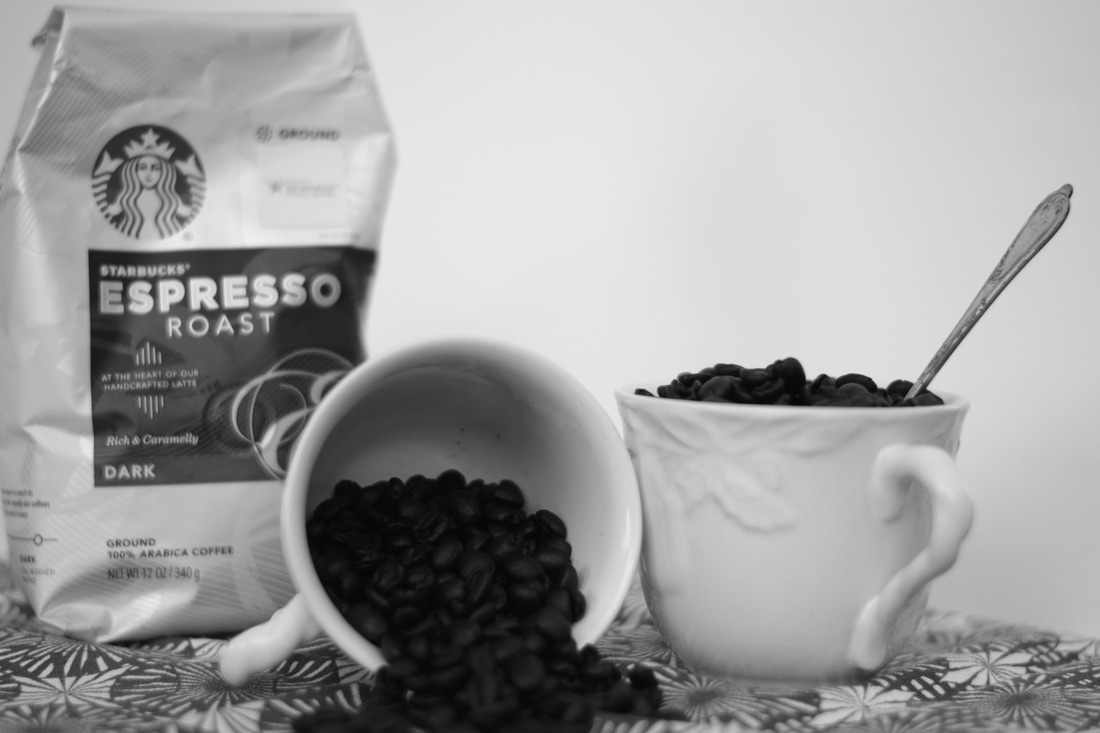 ISO 400 F/1.8 SS 1/4000  ISO 400 F/8 SS 1/60 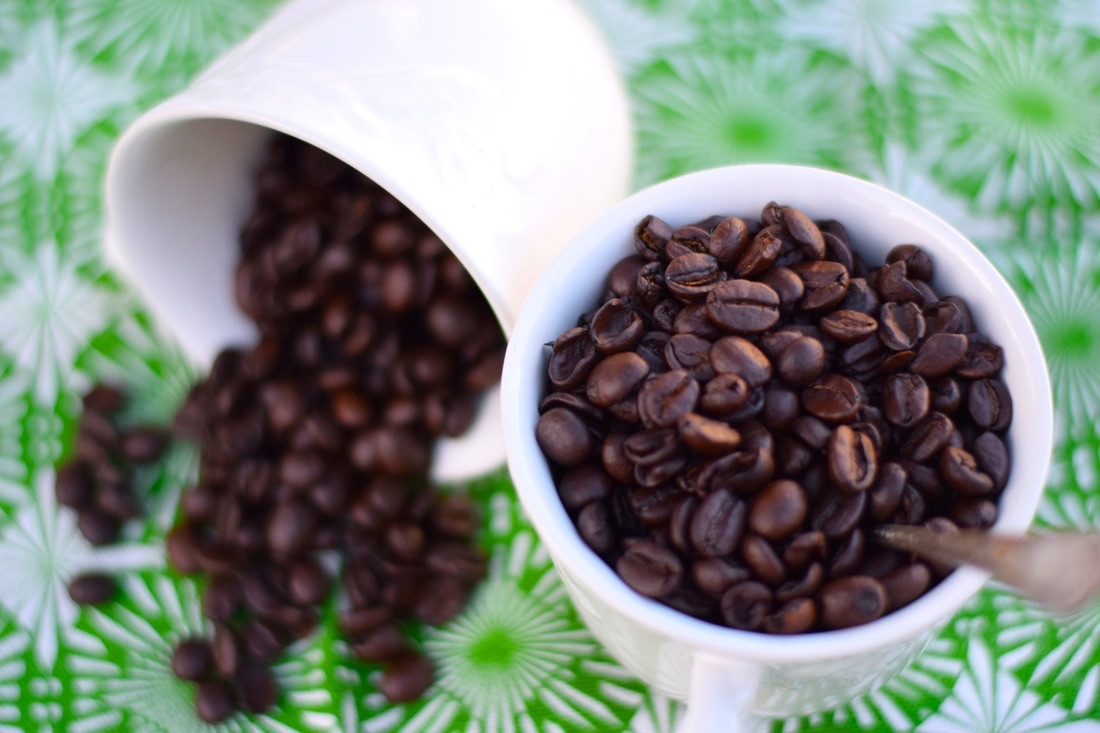 ISO 400 F/ 1.8 SS 1/1500 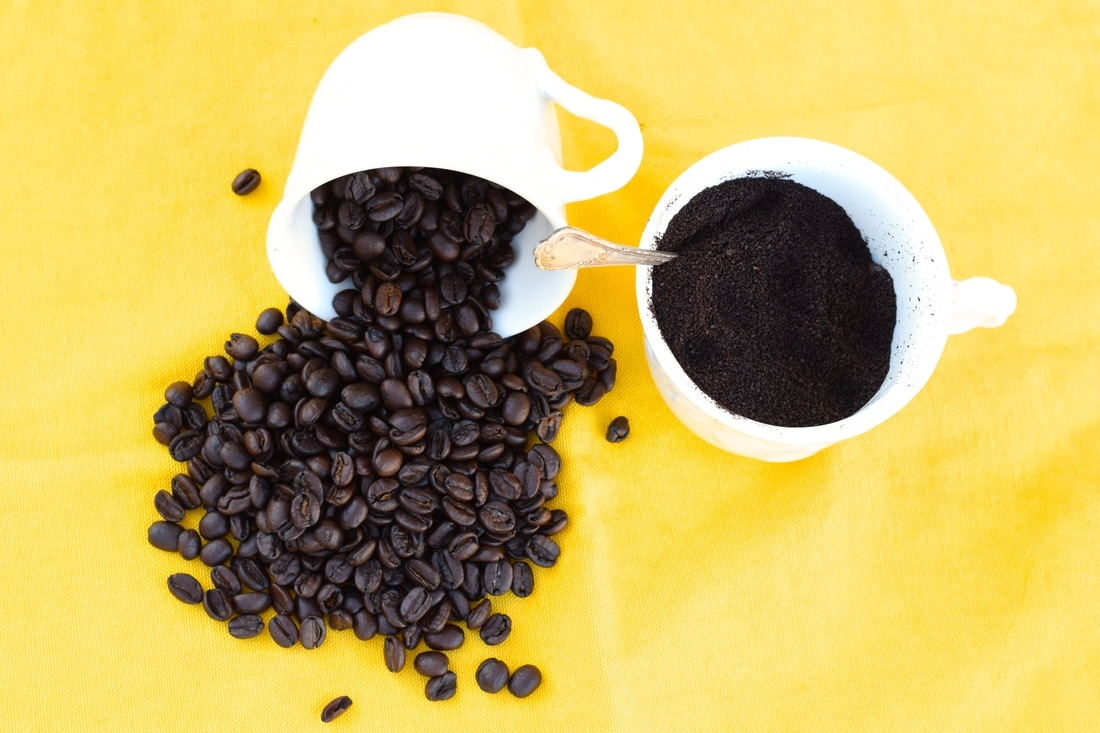 ISO 400 F/ 8 SS 1/60 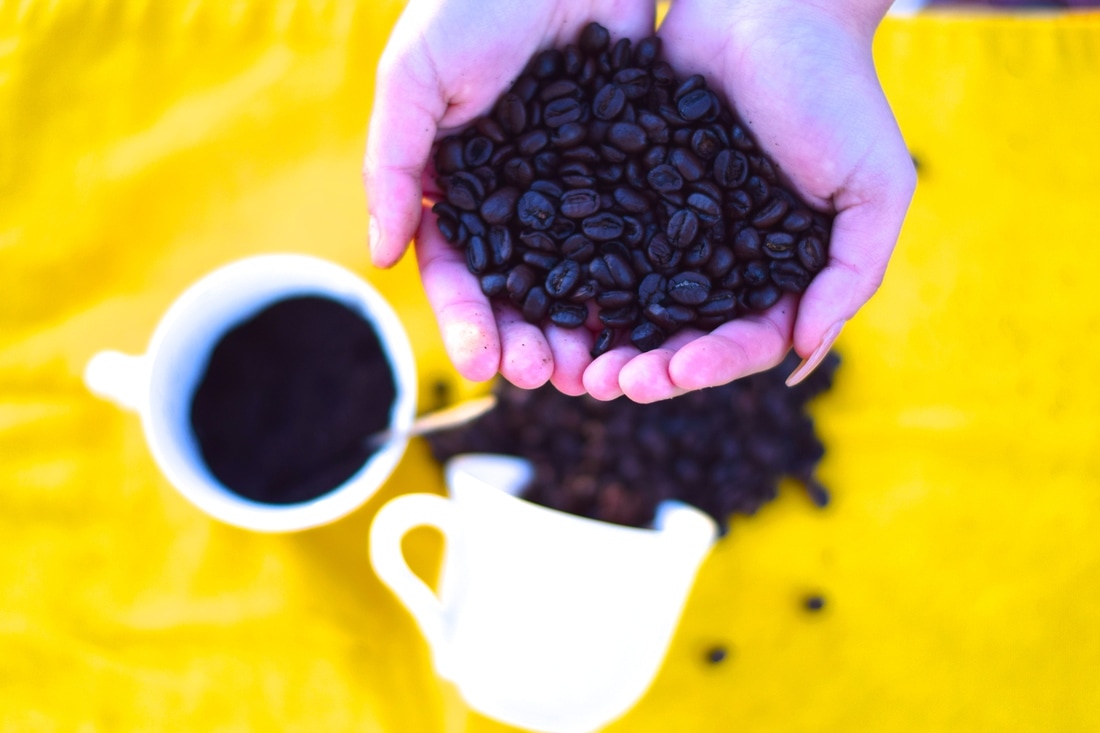 ISO 400 F/ 1.8 SS 1/2000 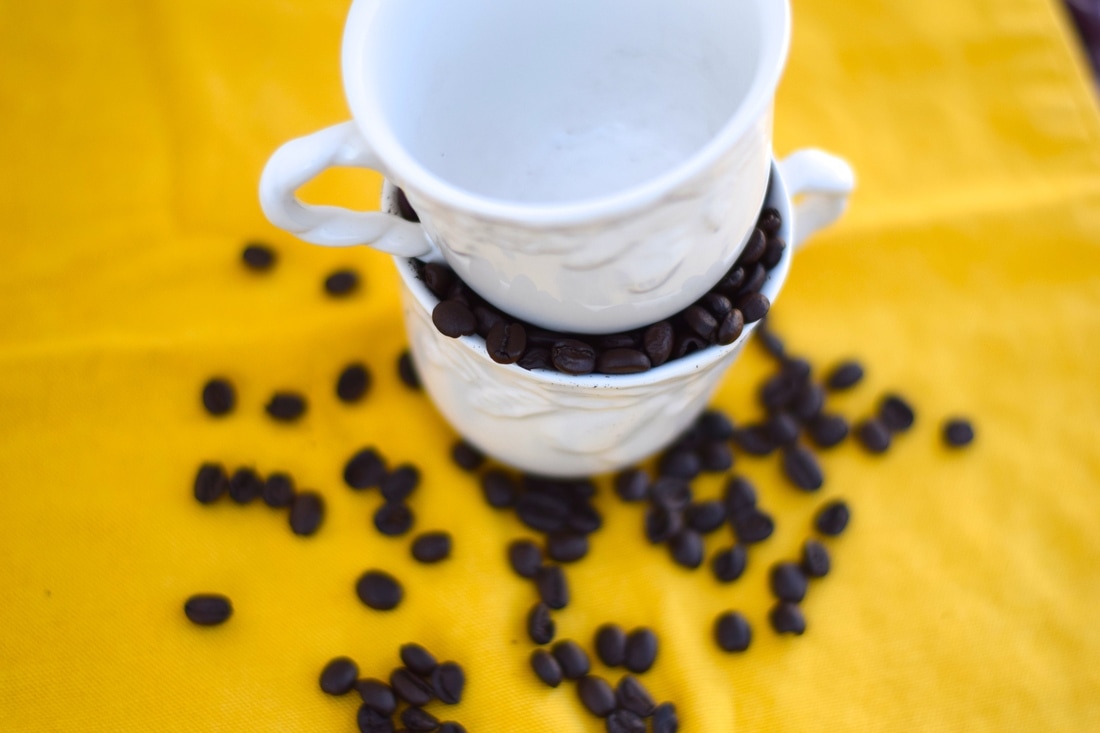 ISO 400 F/ 1.8 SS 1/3000  ISO 400 F/ 1.8 SS 1/4000 The photos above are the pictures I took for our food photography project. I realize that coffee beans are not food, but I thought the coffee beans would make some good pictures with the right props. My partner brought the coffee grounds, I brought the coffee beans and table clothes, and Mrs. Moncure let us use her cups. What I learned from this project was how to use the different aperture effects, how to use a reflector to create a natural light onto the pictures, and how to move props around to make the pictures turnout better.
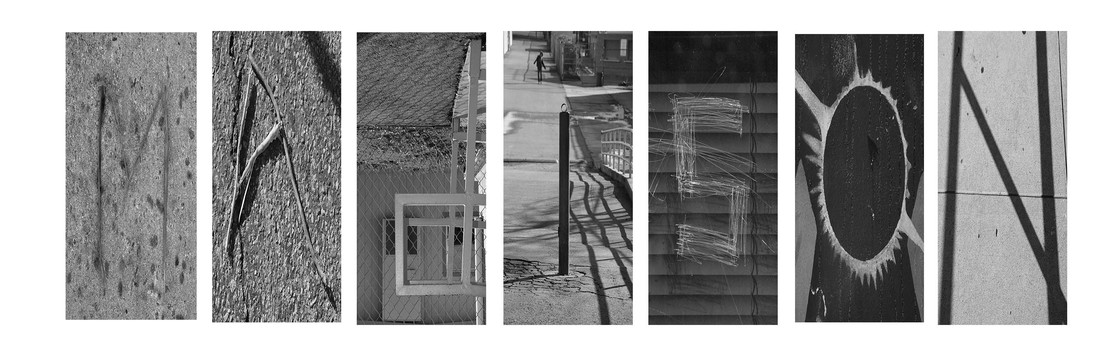 For this name project, I had to go into photoshop, and use a seven name template. Once I cropped my individual pictures between the line, I had to use color balance on the letter "M", so that it would be the same color as the rest. My favorite letter that I was able to fine was the letter "O" because I thought I took it from a really cool painting.
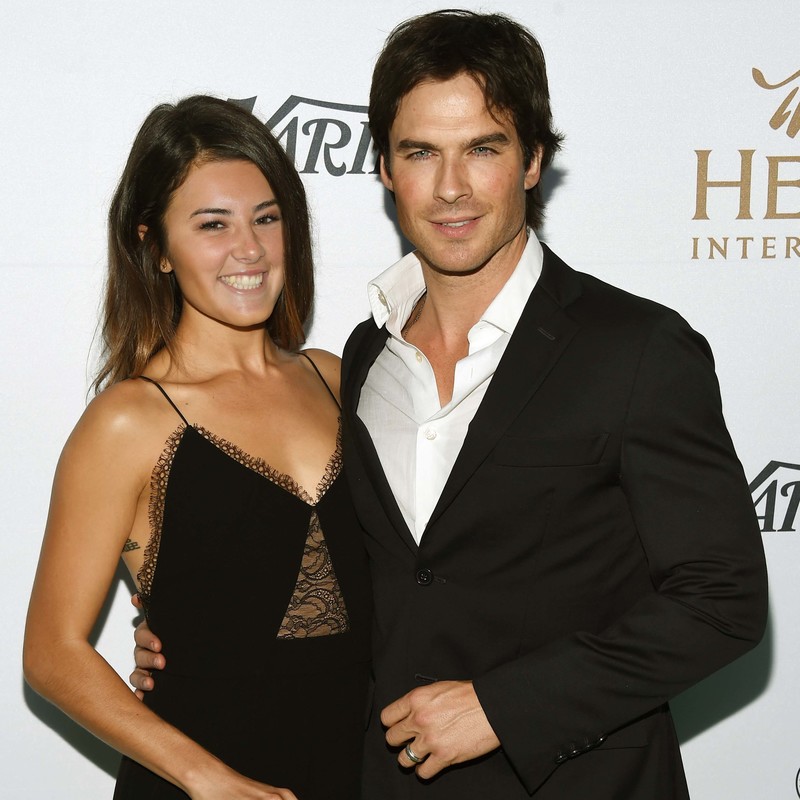 In this picture, I'm with the actor Ian Somerhalder from the hit series Vampire Diaries. In class, someone took a photo of me, and I put the picture of Ian with his wife, and then I merged the layer with my picture from class. Thus making me Ian Somerhalder's wife, Nikki Reed. 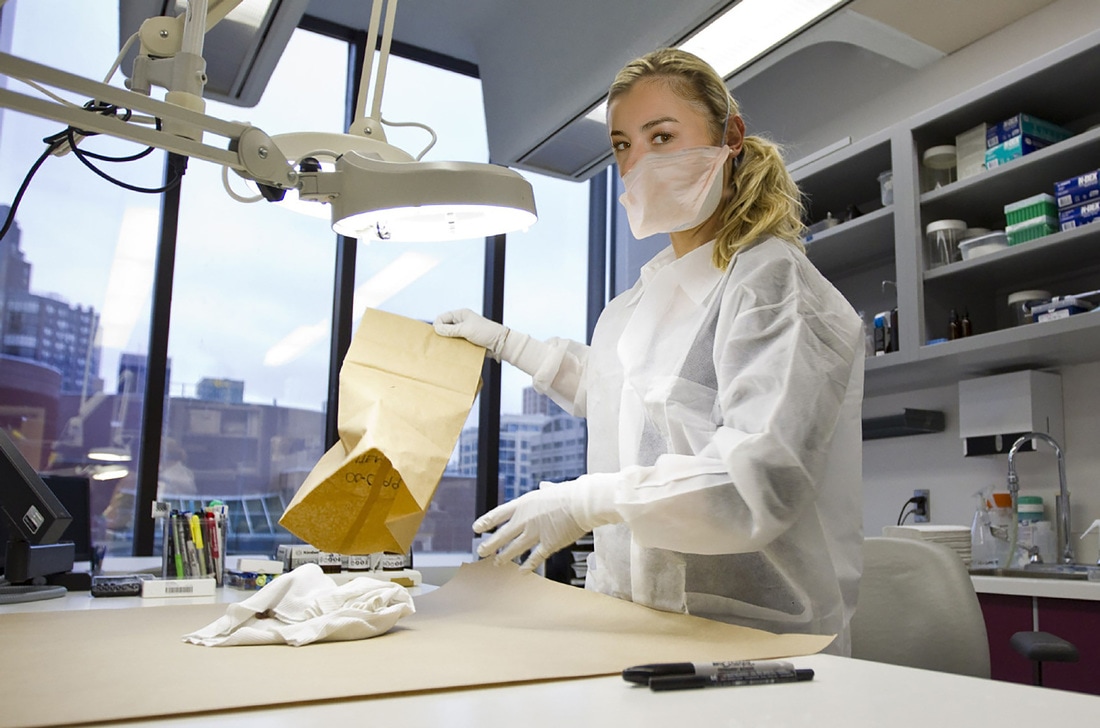 In this picture, I'm doing my dream job, which is being forensic scientist. Creating this picture was challenging because the angle of the original image, the girl was looking down, so I had to compromise. Even though it was a challenge, I was capable go merging the two photo, and made my face fit the girls.
My class did a HDR project, where we all went to the duck pond, and found symmetry, leading line, framing, and crop using a tripod. The pictures below are what I was able to capture using three to five different exposures of the same image. Thus being able to merge those similar pictures in photoshop, and create a HDR photograph  After, Framing: EV: 0.0, -.3, -.7  After, Rule of Thirds: EV: 0.0, -.3, -.7  After, Leading Line: EV: 0.0, -.3. -.7  After, Symmetry: EV: -.3, 0.0, -.7  After, Crop: EV: 0.0. -.3 To photograph the moon:
1. Use a tripod! A flat surface will only allow you to shoot straight, and shooting the moon means that you'll be shooting up and constantly re-adjusting the tripod as the moon moves throughout the night. 2. Use a shutter release cord, remote or the camera's self timer if you don't have one, so that you don't move the camera when pressing the shutter release during a long exposure. 3. Use a zoom lens and zoom in as much as you can to the moon. It's okay if it's not a super fancy lens, this was shot using a 15 year old $100 lens. Focus in on the craters and details on the moon. 4. ISO 1250- 1600, so that you can use as fast a shutter speed as you can without losing detail-the longer the shutter speed, the more chances you have the camera will shake even slightly in the wind, resulting in an out of focus photograph. 5. Aperture priority of f/5.6 since you are not worried about capturing any details other then the moon. 6. Bracket your exposure, meaning over expose and underexpose the photograph from what the camera is telling you. Generally the camera will overexpose the moon, so you'll get nothing but a white blob in the sky. Use the exposure compensation button (the +/- button below the shutter release) and change the exposure to -0.5, then -1.0, then -1.5 and so on, until you start seeing detail in the moon. You may go as far as -5.0 exposure compensation to get what you need. 7. Take a fair amount of photos and keep refocusing as the night progresses. The photographs may look focused on the camera's display, but you won't really see if they're completely in focus until you upload them onto your computer screen.  balance: aperature F/8 shutter speed 1/250 ISO 400 This is balance because the lines on the leaf are symmetrical. The leaf shows visual stability.  harmony: F/8 shutter speed 1/800 ISO 800 This is harmony because the colors give off a peaceful feeling, and the colors are similar. 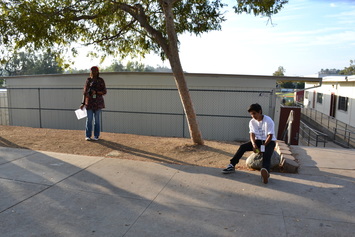 proportion: F/8 shutter speed 1/320 ISO 400 This picture is represents proportion because you can see the different sizes of the two people. The girl's shadow shows the disproportion, 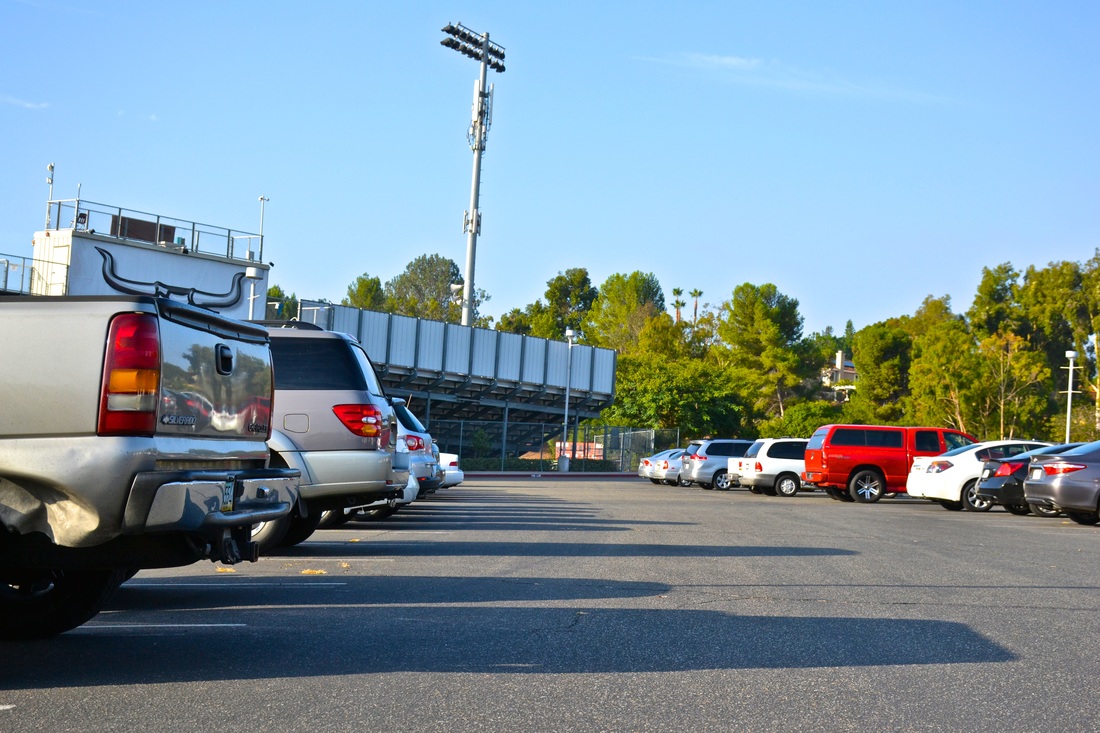 unity: F/8 shutter speed 1/500 ISO 400 This picture is unity because it represents "oneness" because the cars are in a line, and the shadows show that. 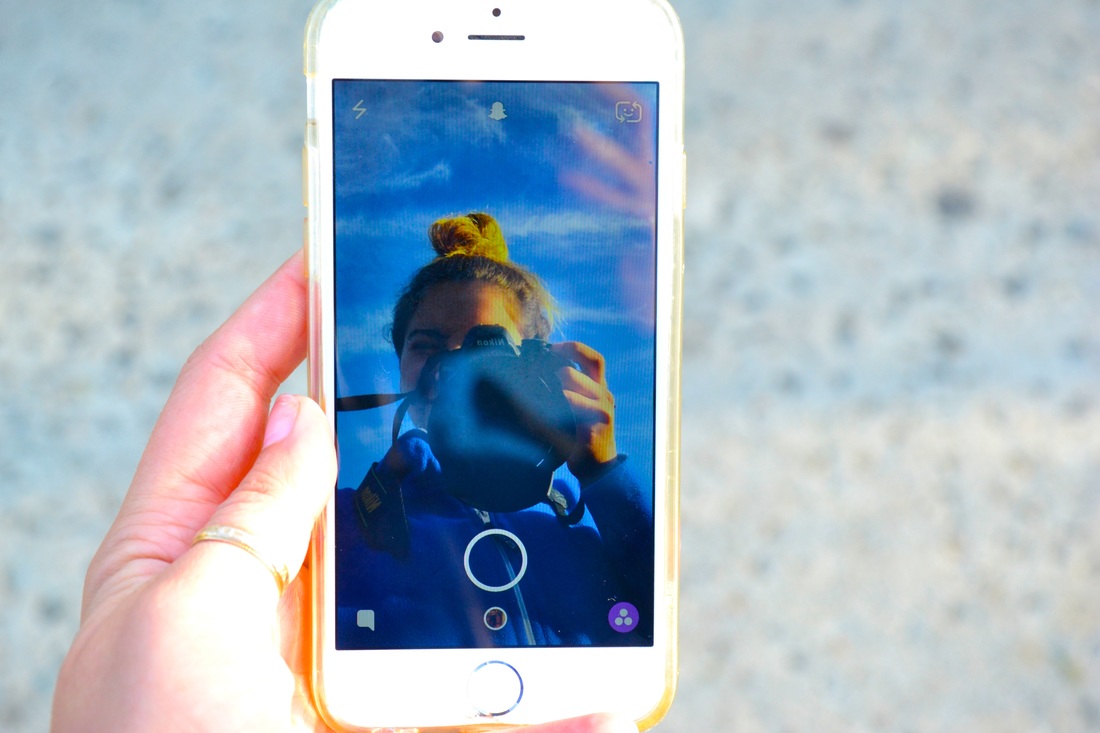 variety: F/8 shutter speed 1/250 ISO 800 This picture represents variety because it is different, and isn't an average picture. It elaborates different elements. 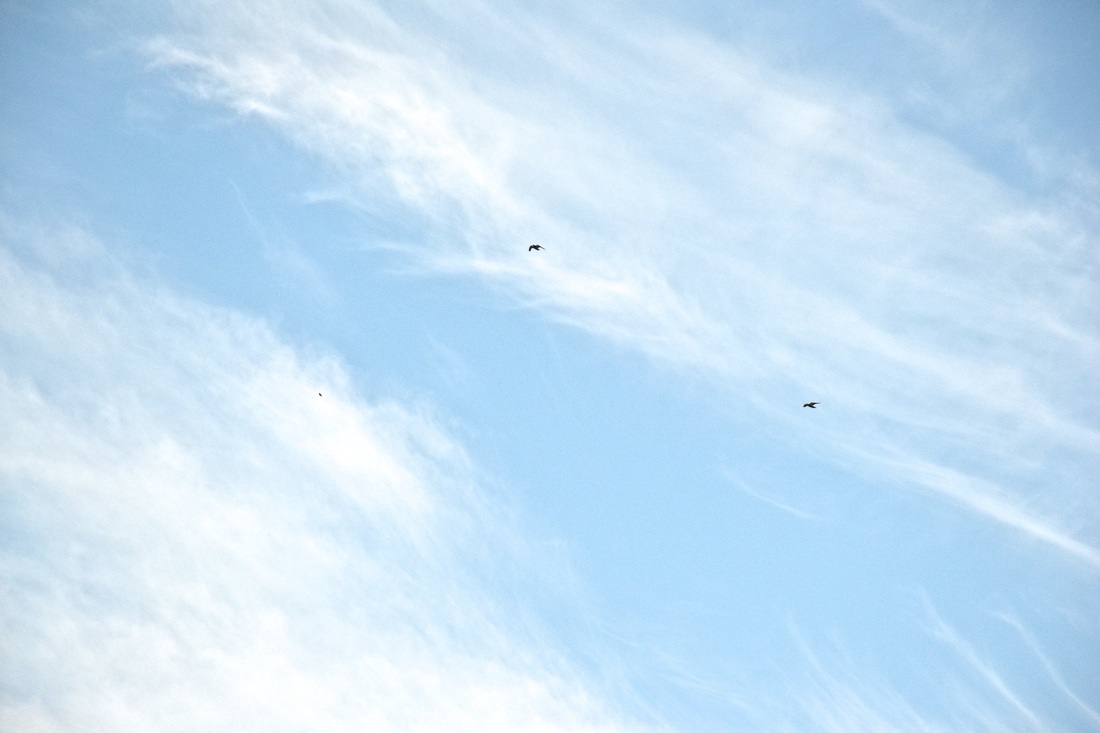 Rhythm: F/8 Shutter Speed 1/1000 ISO 400 This picture repents rhythm because you can see the two birds in flight. It indicates movement and repetition.
|
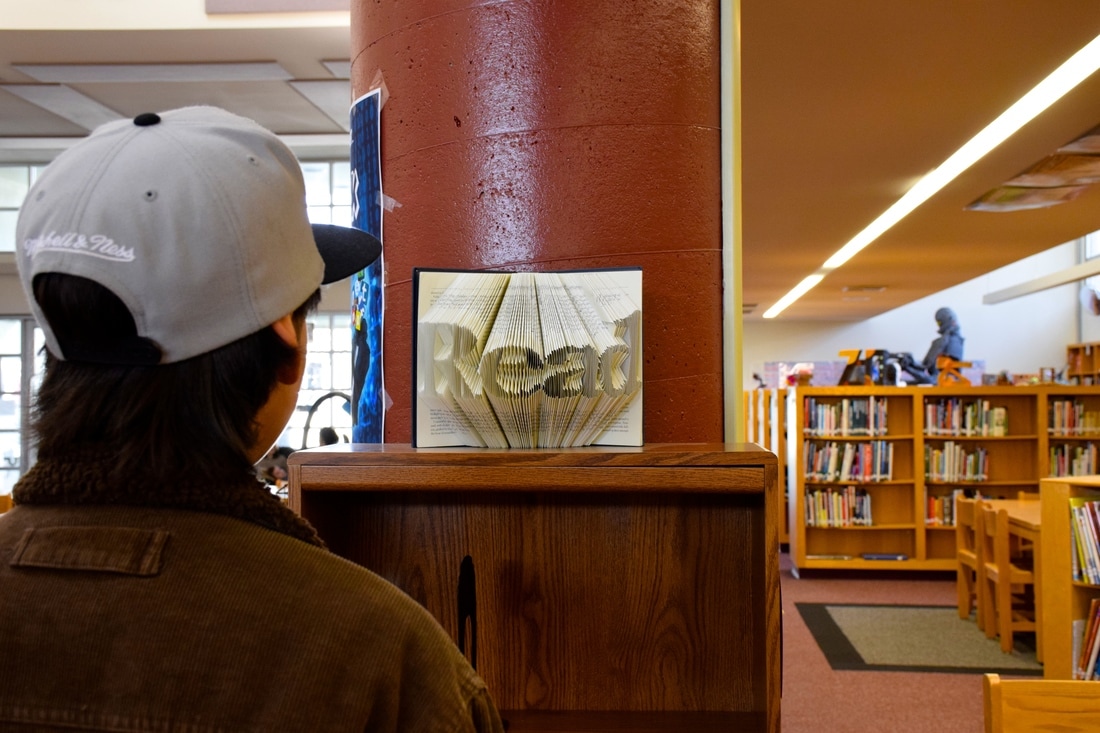
I'm Madi and I'm new to photography so I hope you enjoy my posts!
Archives
May 2017
Categories |

 RSS Feed
